Turning On
To turn on the indoor monitor, press and hold .
.
Powering on the indoor monitor, the system will enter into the following
interface:

Note: When the battery power of indoor monitor is insufficient, it will
display an indication icon  and emit warning tone. The indoor monitor
will automatically turn off. You need to charge it.
Press  to select the Menu, then the system will enter into the following
interface:
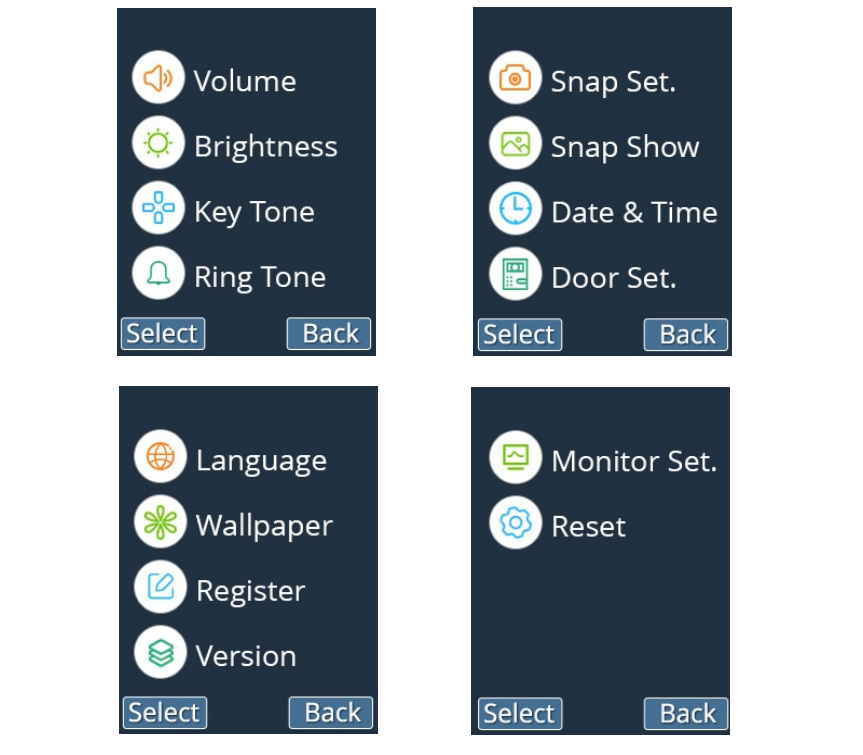
Chapter 1: Volume
This function allows you to adjust the volume (9 levels are adjustable)
during a call.
1. Press Up  or Down to
  choose “Volume” menu, then press
  beneath Select.
2. Press Up  or Down to
  choose talking volume(9 levels are adjustable), and press Left or Right to adjust.
3. Press Up  or Down to
  choose ringtone volume(9 levels are adjustable),and press Left
 or Right to
  adjust.
4. To set the ringing time, press Up  or Down to
  choose Ringing Time(1-30 seconds are selectable), and press Left
 or Right
  to adjust.
5. When setting Ringing Time at 0s, indoor monitor is on mute mode.
6. Press beneath Select to save the settings and return to the previous menu.
Note: You can also press Left  or Right
  key to adjust the ringtone volume in the standby mode.
Chapter 2: Brightness
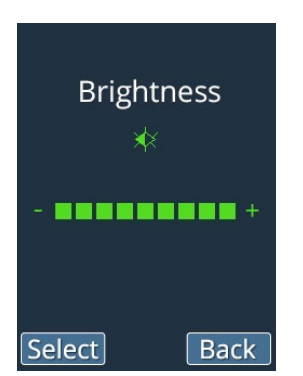
This function allows you to adjust the brightness (9 levels are adjustable).
1. Press Up or Down to
 choose “Brightness” menu, then press
  beneath Select .
2. Press Left or Right
  to select the brightness level. Each time you press Left
  or Right
  , the indoor monitor displays with the selected brightness level .
3. Press  beneath Select to save the settings and return to the previous menu.
Note: You can also press Up or Down
 key to adjust the brightness in the standby mode.
Chapter 3: Key Tone
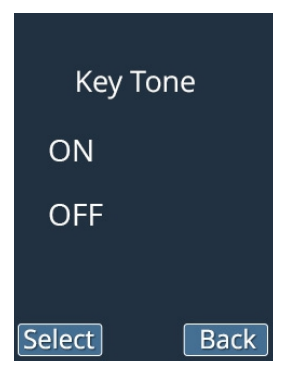
When the key is pressed, the indoor monitor acknowledges it with a key
tone. Key tone can be disabled. In certain error conditions, there will be a
warning tone when an incorrect key is pressed.
1. Press Up or Down
 to choose “Key Tone” menu, then press
  beneath Select .
2. Press Up or Down
 to choose On or Off to enable or disable the function.
3. Press beneath Select to save the settings and return to the previous menu.
Chapter 4: Ring Tone
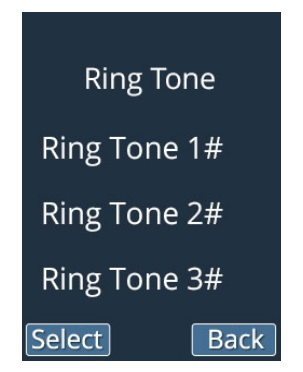
This function allows you to change the ring tone of indoor monitor (There are three ring tones for your selection).
1. Press Up  or Down
  to choose “Ring Tone” menu, then press
  beneath Select.
2. Press Up  or Down
 to select the ring tone. Each time you press Up
 or Down
 , the indoor monitor rings with the selected volume.
3. Press beneath Select to save the settings and return to the previous menu.
Chapter 5: Snap Set.
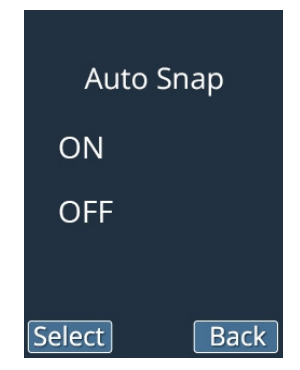
1. Press Up  or Down
 to choose “Snap Set.” menu, then press
 beneath Select .
2. Press Up  or Down
 choose On or Off to enable or disable the function.
3. Press  beneath Select to save the settings and return to the previous menu.
With this Auto Snap On, the camera will take a photo of visitor
automatically when visitors press the Call button on the door camera. You
can check this photo easily in the indoor monitor.
Notes:
1. During the conversation, if you press the Snapshot key, the camera can take a photo of visitor and save it into the indoor monitor.
2. During the monitoring, if you press the Snapshot key, the camera can take a photo of the view and save it into the indoor monitor.
3. Up to 100 photos can be stored in the monitor. The previous ones will be removed automatically if the photos are more than 100 pieces in the indoo
Chapter 6: Snap Show
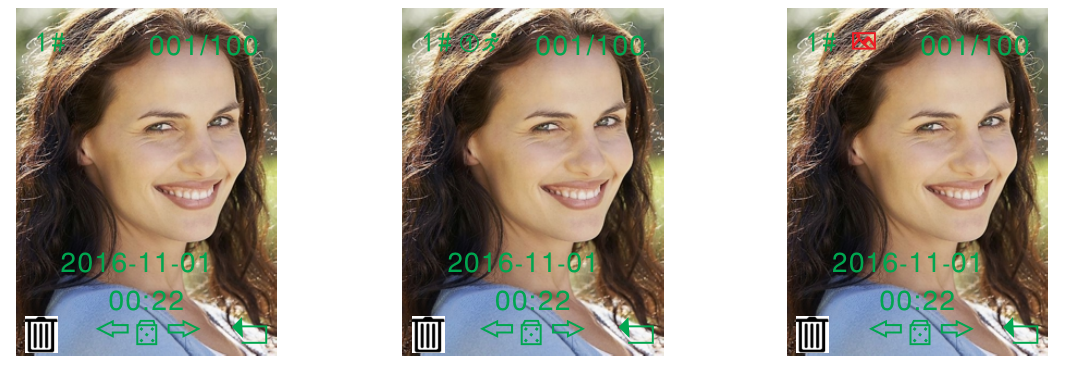
You can view or delete recorded photos in this menu. Door camera number, missed call icon or the door camera PIR icon will be displayed at the top of photos correspondingly.
1. Press Up or Down
  to choose “Snap Show” menu.
2. Press beneath Select, and press Left
 or Right
 to review pictures.
3. To delete the photo, press Left or Right
 to choose the photo and then press
  beneath“
 ” . The display will show “
 ? ”. Press
  beneath “√” to confirm.
4. : This icon means Delete All. Pressing Unlock key, the system will prompt whether to delete all the photos. Press OK to delete and press Return to exit.
5. After one warning tone, it will display the next photo.
6. Press beneath
  to return to the previous menu.
Chapter 7: Date&Time
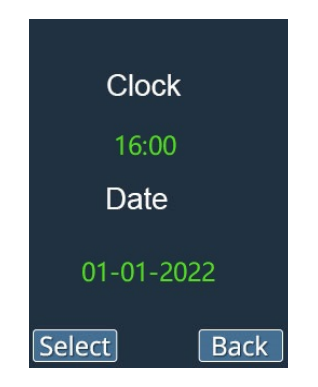
1. Press Up or Down
  to choose “Date&Time” menu, then press
  beneath Select.
2. To set the time, you can press Left or Right
 to choose the Hour or the Minute and press the Up or Down to adjust.
3. To select the date, you can press Left or Right
 to choose the Year or the Month or the Date, and press the Up
 or Down
  to adjust.
4. Press beneath Select to save the settings and return to the previous menu.
Notes:
1. Use 24-hour system as time format and DD-MM-YYYY as date format.
2. Date & Time must be set in advance to ensure that the time displayed on the indoor monitor is correct.
3. After replacing the battery, please set the time and the date again.
Chapter 8: Door Set.
1. Press Up or Down
  to choose “Door Set.” menu, then press
 beneath Select.
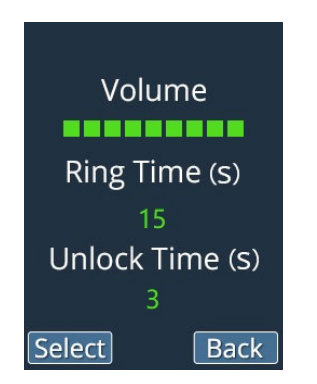
2. To adjust the volume of door camera, you can press Up or Down to choose (9 levels are adjustable), and press Left or Right
 to adjust.
3. To set the ring time, you can press Up or Down
  to choose Ring Time(1-15 seconds are selectable. When two indoor monitors are connected to one door camera, if the time set in two indoor monitors is different, the time is subject to the shorter one), and press Left
 or Right
 to adjust.
4. If setting Ringing Time at 0s, door camera will not make a sound when the call button is pressed.
5. To set the unlock time, you can press Up or Down
  to choose Unlock Time(1-9 seconds are selectable), and press Left
 or Right
 to adjust.
6. Press beneath Select to save the settings and return to the previous menu.
Chapter 9: Language

1. Press Up or Down
  to choose “Language” menu, then press
  beneath Select ..
2. Press Up or Down
  to choose the corresponding language(0 stands for English, 1 stands for , 2 stands for Polish, 3 stands for German, 4 Dutch stands for French, 5 stands for Italian, 6 stands for , 7 stands for Portuguese Spanish, 8 stands for , 9 stands for ). Russian Turkish
3. Press  beneath Select to save the settings and return to the previous menu.
Chapter 10: Wallpaper
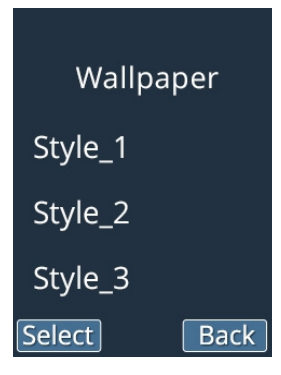
You can choose different wallpaper.
Chapter 11: Version
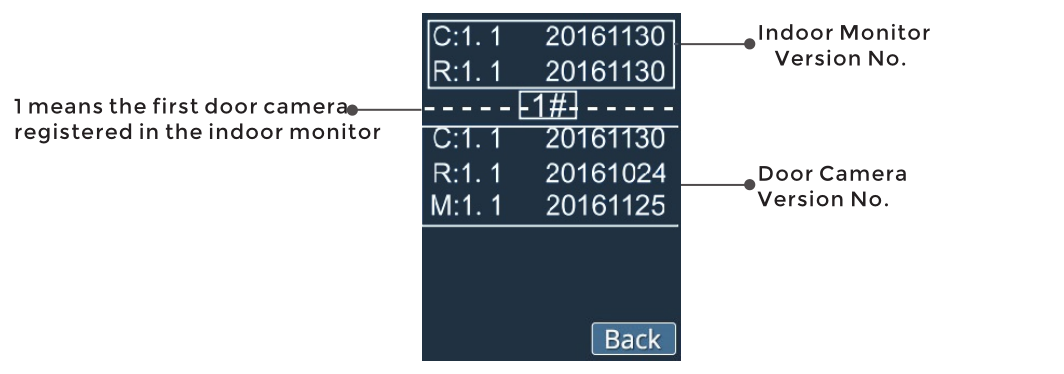
Press Up or Down
  to choose “Version” menu, then press
  beneath Select.
You can check the software version in it.
Chapter 12 : Monitor Set
1. Press Up or Down
  to choose “Monitor Set.” menu, then press
  beneath Select.
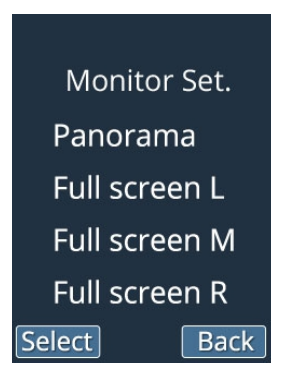
2. Press Up or Down
  to the select item; Panorama stands for full screen monitor, which is system default; Full screen L stands for left area of monitoring view; Full screen M stands for middle area of monitoring image; Full screen R stands for right area of monitoring image.
3. Press  beneath Select to save the settings and return to the previous menu.
Chapter 13: Reset
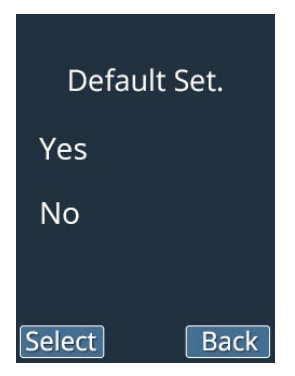
This function allows you to reset the indoor monitor to the factory default.
1. Press Up or Down
  to choose “Reset” menu, then press
  beneath Select.
2. Press Up or Down
  to choose YES or NO to enable or disable the function.
3. Press  beneath Select to save the settings and return to the previous menu.
Result: After resetting, the indoor monitor will return to standby mode. Note: If you reset the indoor monitor, all the settings will return to the factory default.